
 This square is just the cover page. To create the inside pages I went to Layout > Pages... > Add Pages. From here I could add the numbers of pages, including double spread pages. In order to have enough pages for everything I wanted to include, I added a minimum of five double page spreads, one front cover and one back cover. One these pages I aim to add; lyrics, credits, any extra artwork not used on the cover and a 'thank you' message.
Before Making the Digipack:

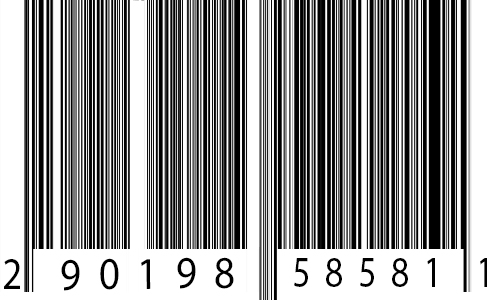
 Before starting, I had to create additional features in photoshop. For the back-cover I created a barcode with a made up UPC number. The barcode image was created easily by creating noise and dragging it out so it looks like long black lines of varying length. To add the noise I went to Filter > Noise > Add Noise and selected gaussian and monochromatic. I adjusted the amount to about 300% which created a good amount of noise. Once this is done I used the Single Row Marquee Tool to select a single row of pixels. Using Cmd + T to transform the selection, I dragged the selection up creating long black lines. Using the selection tool and the paint bucket I created areas of white space where the UPC number will be. After this, I used the Text Tool to add random numbers. Standard UPC codes have 12 numbers with one on its own at the beginning and one at the end. I replicated this to make it look as realistic as possible.
The final product looks like this:

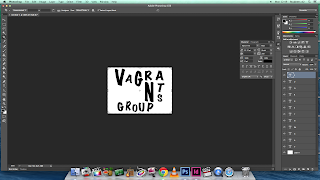 To avoid copyright issues I had to recreate the logos for the music companies associated with the band. The album was produced by 4AD which is a British indie label. When recreating their logo I changed their name to 5BE. The logo I produced is very similar to the 4AD logo with the black and white boxes. The parent company of 4AD is the Beggars Group. Like I did for 4AD, I changed the name of the company. I changed it to Vagrants Group as a vagrant is a synonym of beggar. Similarly, I made the logo for Vagrants Group with the Beggar Group's logo in mind. It features rough letters of varying shapes and sizes and even orientation.


 To avoid copyright issues I had to recreate the logos for the music companies associated with the band. The album was produced by 4AD which is a British indie label. When recreating their logo I changed their name to 5BE. The logo I produced is very similar to the 4AD logo with the black and white boxes. The parent company of 4AD is the Beggars Group. Like I did for 4AD, I changed the name of the company. I changed it to Vagrants Group as a vagrant is a synonym of beggar. Similarly, I made the logo for Vagrants Group with the Beggar Group's logo in mind. It features rough letters of varying shapes and sizes and even orientation.
 Both logos were created using Photoshop. Using the text tool I was able to type in the letters and reshape them to fit the image I wanted. For the Vagrants Group logo, I used the vertical text tool for the letters 'T' and 'S'. It meant that I could write them vertically and create the desired effect.

 The group Daughter tend to use old family photos for their album front covers, so I decided to pay homage by using family photos in the digipack. A common feature of digipacks are picture collages featuring the singer/band, so I took this one step further and created a double spread page of family photos. To create this I used photoshop as it gave me the means to crop and edit photos as well as collaging them together. First I imported all the photos I wanted to use. Using the crop tool I was able to cut out the background, and using the transformation tool I rotated the photo so it was straight. I copied the picture a pasted it onto a black canvas where I would start the collage. I repeated this process until I had edited all the photos. To fit the theme I adjusted the images so they were all in black and white. I did this by going to Images > Adjustments > Black & White. Lastly, I just had to move around the photos so they were overlapped and placed in a neat order.
The final product looks like this:

Making the Digipack:


For the front cover, I used the same font as the inside text. Again I used the dots and the line to tie in
with Daughter's aesthetic. For the album name, I kept the name 'Smother' as it is the last single on the album. I made the title smaller than the name of the band in true Daughter style. It establishes the band as the most important feature and it creates a strong association between the band and the album.
I used the back cover as a place to put most of the needed information. Using the Rectangle Tool I created a black bar at the bottom of the cover. In this bar I placed all the copyright information, social media links and the barcode. The two music company logos that I had produced early were also placed with the black bar. I used the same font as the previous pages to create a sense of continuity. All the information placed was influenced by the back cover of the 'Folie a Deux' album. It meant that I had a rough idea of what information is typically on a back cover.
 Above the black bar, I filled the rest of the space with the track list. It used the same font but instead all the letters were capitalised to create a clear definition between the names of the song and the additional information below it. At the bottom of the tracklist I wrote "Written by Elena Torna and Igor Haefeli, except where noted. Produced by Igor Haefeli." Some of the songs written for the album were written just by Elena Torna, therefore I added additional credits underneath the songs only she wrote.
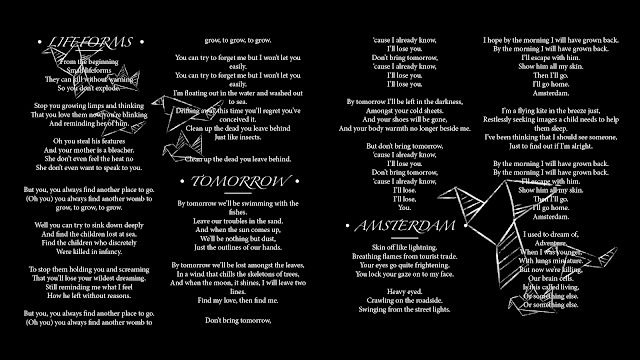
For the lyric pages, credit page and thank you page all share a similar background. I wanted to tie in with the theme of the rest of the booklet so I use the same colour scheme. I used muted colours and a simplistic design to make sure that the eye is not drawn away from the text. I could have left it blank as the text filled the space, but it did not look as interesting. Up until this point, everything had been in black and white, so I wanted to continue with the darker colours. I made the background completely black and added a few simplistic white illustration. The 'doodles' all were different types of paper craft such as paper planes and paper boats, but they all also had the a similar theme of 'travel' which links to a tone of the album. I created these images using Paint Tool Sai and a Wacom Bamboo graphics tablet. Using the 'chalk' brush I drew out the images on a black background. When they were finished I transferred them onto InDesign and placed it on a new layer separate from the text. I changed the text from black to white so it would stand out on the black background.
The final product looks like this:


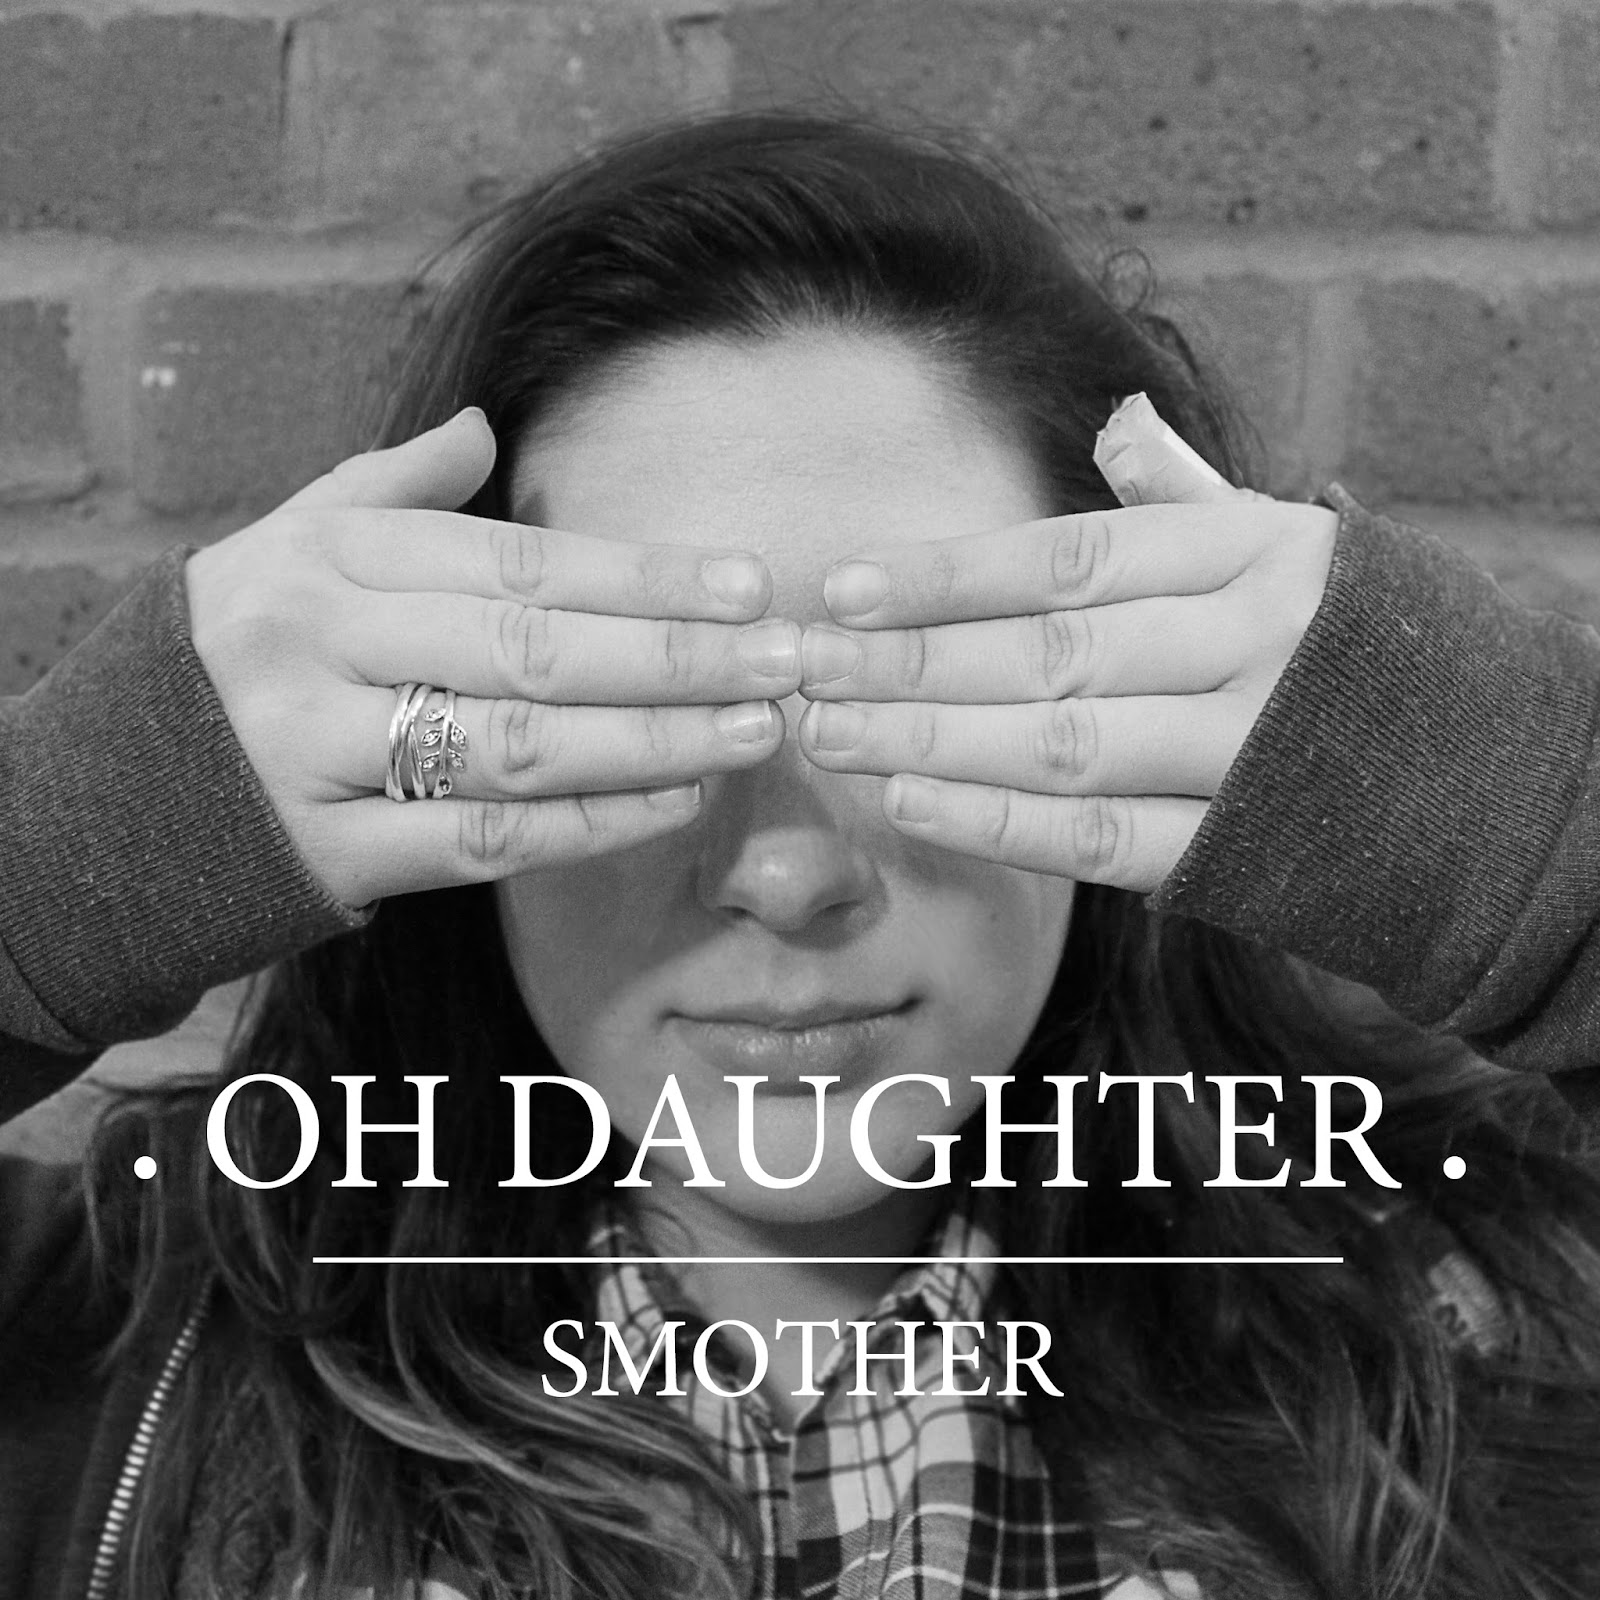
 To complete the digipack I added two photographs - one on the front cover and one on the back cover. The front cover features the person who starred in the video in front of a brick wall. It showed her with her hands in front of her face. Similarly, the back cover showed the same image but from behind. It creates a strong sense of continuity. As the rest of the digipack was in black and white, I used Photoshop to edit the two photographs so they also were in black and white. I did this so it would tie in with the theme and so it would not look out of place.
The completed back and front cover look like this:

No comments:
Post a Comment